The Countdown to Mexico Continues!!! We have had a week of gorgeous sunshine and then ...snow yesterday. No worries weather gods, I only had an outdoor BBQ/ birthday party planned for my little Jedi Wyatt. That's
ok...who doesn't love about thirty people crammed in my little house?! Actually, went pretty well. I can't believe he is 3. Crazy! We enjoyed eating these thinking of the beach while the snow was coming down. If you like
pina coladas...(in song...) then you will LOVE these! Check out
here for instructions on the dried pineapple flowers.

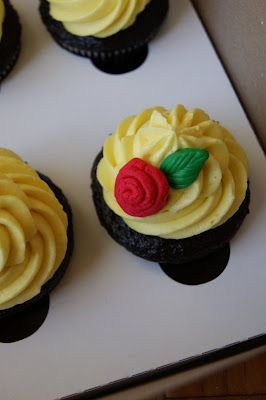
Pina Colada Cupcakes
Source: 101 Gourmet Cupcakes in 10 Minutes by Wendy Paul
Throw the following ingredients into your cart...
1 box yellow cake mix
3 eggs
1 tsp. coconut extract
1/2 cup buttermilk
1 small can crushed pineapple
(I added about 1/3 cup sweetened shredded coconut also)
For the frosting (found on Annie's Eats)
2/3 cup canned crushed pineapple
8 oz. cream cheese
1 1/2 sticks butter, room temperature
1 3/4 cups powdered sugar
(I also added a handful of shredded coconut here)
(I also added about 2 tsp. meringue powder because the frosting was too soft and runny...)
Put your apron on and...mix together cake ingredients. Bake at 350 degrees for 15-18 minutes until done. Cool completely and frost with the above frosting.


 Effortless. Fast. Cute. These baseball cupcakes are a hit for any team of hungry cupcake lovers! I feel stupid even posting instructions! Simply spread on white buttercream smoothly with a small spatula. With red royal icing, in a bag with a number 2 tip, pipe on laces. Wa-La! You have a baseball. Batters Up!!