


Speaking of the devil...My mom is a little like Martha Stewart. (besides the jail thing, and the blond thing, and the men's shirt thing...) We always tease her about her perfectionism. Last summer, during our family reunion, the Keith Family Amazing Race #5 (more details about this to come), she made these muffins. My mom can turn a quick brunch into a five star feast. She experimented with these healthy muffins...and they were a HIT!! The second I got back home to Colorado I called her requesting this recipe. The streusal topping is amazing!! These are worth the long list of ingredients and the extra effort...don't let the recipe intimidate you.... 
Strawberry Orange Muffins
Source: Eating Well Magazine
Throw the following ingredients into your cart...
3 tablespoons almonds
2 tablespoons plus 3/4 cup all-purpose flour, divided
2 tablespoons plus 1/2 cup brown sugar, divided
3 teaspoons freshly grated orange zest, divided (see Variation)
1/2 teaspoon salt, divided
2 tablespoons plus 1/4 cup canola oil, divided
1 cup white whole-wheat flour , or whole-wheat pastry flour (see Note)
2 teaspoons baking powder
1 teaspoon baking soda
3/4 cup nonfat or low-fat buttermilk
1/4 cup orange juice
1 large egg
1 teaspoon vanilla extract
1 1/2 cups chopped fresh or frozen (not thawed) strawberries , (about 8 ounces)
Put your apron on and ...
Preheat oven to 400°F. Coat a 12-cup muffin pan with cooking spray.
Process almonds, 2 tablespoons all-purpose flour, 2 tablespoons brown sugar, 1 teaspoon orange zest and 1/4 teaspoon salt in a food processor until finely ground. Transfer to a small bowl, drizzle with 2 tablespoons oil and stir to combine.
Whisk the remaining 3/4 cup all-purpose flour, whole-wheat flour, baking powder, baking soda and the remaining 1/4 teaspoon salt in a large bowl. Whisk the remaining 1/2 cup brown sugar, 2 teaspoons orange zest and 1/4 cup oil in a medium bowl with buttermilk, orange juice, egg and vanilla extract until well combined. Make a well in the center of the dry ingredients and pour in the wet ingredients; stir until just combined. Add strawberries; stir just to combine. Divide the batter among the prepared muffin cups. Sprinkle with the almond topping, gently pressing into the batter.
Bake the muffins until golden brown and a wooden skewer inserted in the center comes out clean, 18 to 20 minutes. Let cool in the pan for 10 minutes, then transfer to a wire rack to cool for at least 5 minutes more before serving. juice.

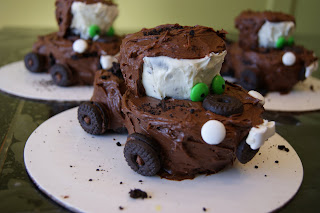
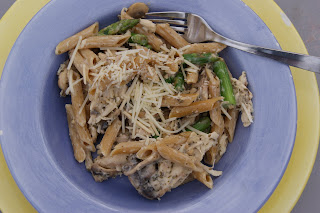
 Chicken Pesto

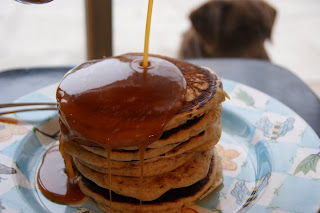 Don't mind the dog in the background of the photo...just our chocolate lab Libby...Hey Girl! She wanted pancakes too!
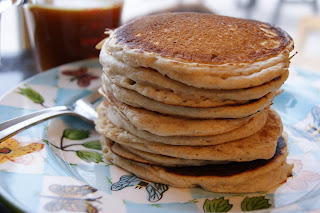


 .
.

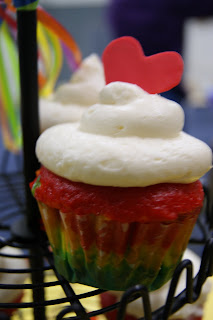 Rainbow Cupcakes


 Peanut Butter Toffee Bars


